
.png)


You can restore data that has been backed up using the Enterprise Server Edition (ESE) Agent. Watch our how-to video below, or read on for more detailed instructions.
1. Open ESE in the Restore tab.
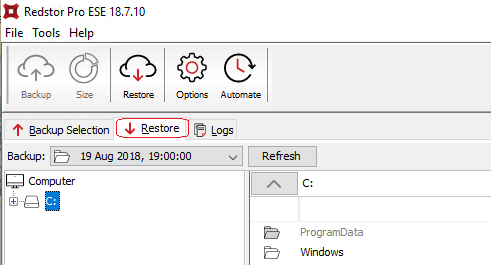
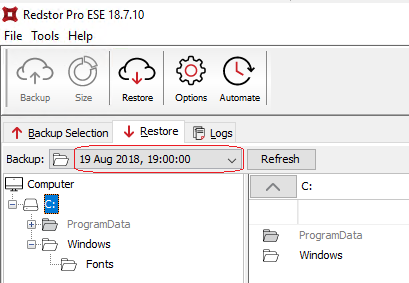
2. Use the drop-down menu to select the point (date and time) you wish to restore from.
If a primary StorageServer is unavailable or unreachable, you can restore from a MirrorServer. To do this, click the icon for Restore from alternate server at the top right.

Select Last known MirrorServer and click OK. Then proceed with Step 3 below.

3. Select the files and folders you wish to restore by ticking their checkboxes or using right-click > Include.
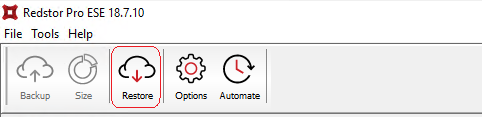
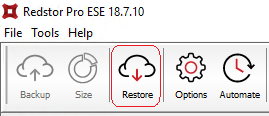
4. Click the Restore button on the toolbar at the top.
5. In the dialog box that appears, choose the location to which you wish to restore the files.
You can also enable one or both of the following advanced options if you wish:
- Restore file and folder permissions
- Overwrite files (replaces existing files with their copies that are being restored)
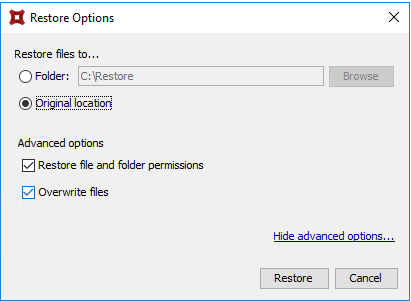
When you're ready, click Restore.
6. A new dialog box will appear which will indicate the progress of the restore.
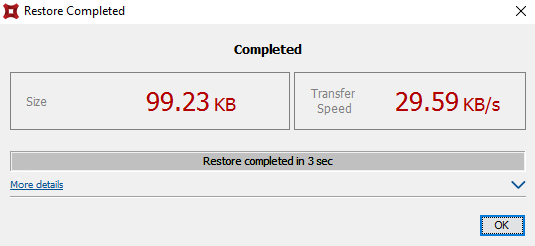
Once the restore has been completed, click OK.
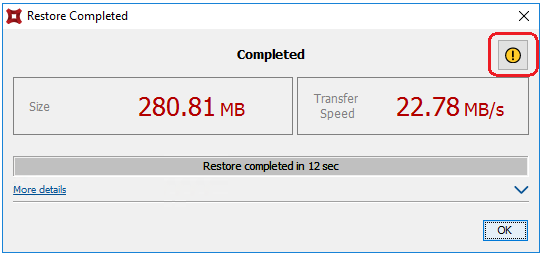
Should the restore fail, the first step in troubleshooting will be to check the restore log file. This can be accessed by clicking on the yellow warning icon in the restore dialog, which will take you to the Logs tab in the Agent.
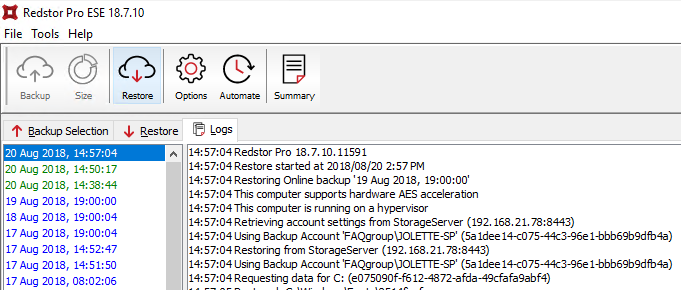
Logs can also be found in the ESE logs directory (see Article 001), default location C:\ProgramData\Redstor Backup Pro\Backup Client ESE\logs\.
 1.png)