
.png)


PAGE CONTENTS
Introduction
Backing up and restoring Xero forms part of our cloud service offering. To use the service, you need to be both a RedApp company administrator, and a Xero user at the organisation/s you wish to back up.
What is supported?
Redstor currently supports backup and InstantData recovery of:
- Accounts
- Assets (including draft, disposed and registered assets), asset types, and asset settings
- Batch payments
- Branding themes
- Bank transactions
- Bank transfers
- Contacts and contact groups
- Currencies
- Credit notes
- Expense claims
- Files and file associations
- Folders
- Invoices, repeating invoices, and invoice reminders
- Items
- Journals
- Linked transactions
- Manual journals
- Organisation settings (including UK Construction Industry Scheme settings)
- Overpayments
- Payments
- Prepayments
- Projects, project tasks, project time entries, and project users
- Purchase orders
- Quotes
- Receipts
- Tax rates
- Tracking categories
- Users
Attached files in Xero can also be restored with InstantData.
What is not supported?
Redstor currently does not support backup and recovery of:
- Employees
Guides
Use the guides below to manage your Xero backups.
How to add a backup set
Watch our video or follow the steps below.
1. On the RedApp home page, go to My Company or to the relevant customer company.
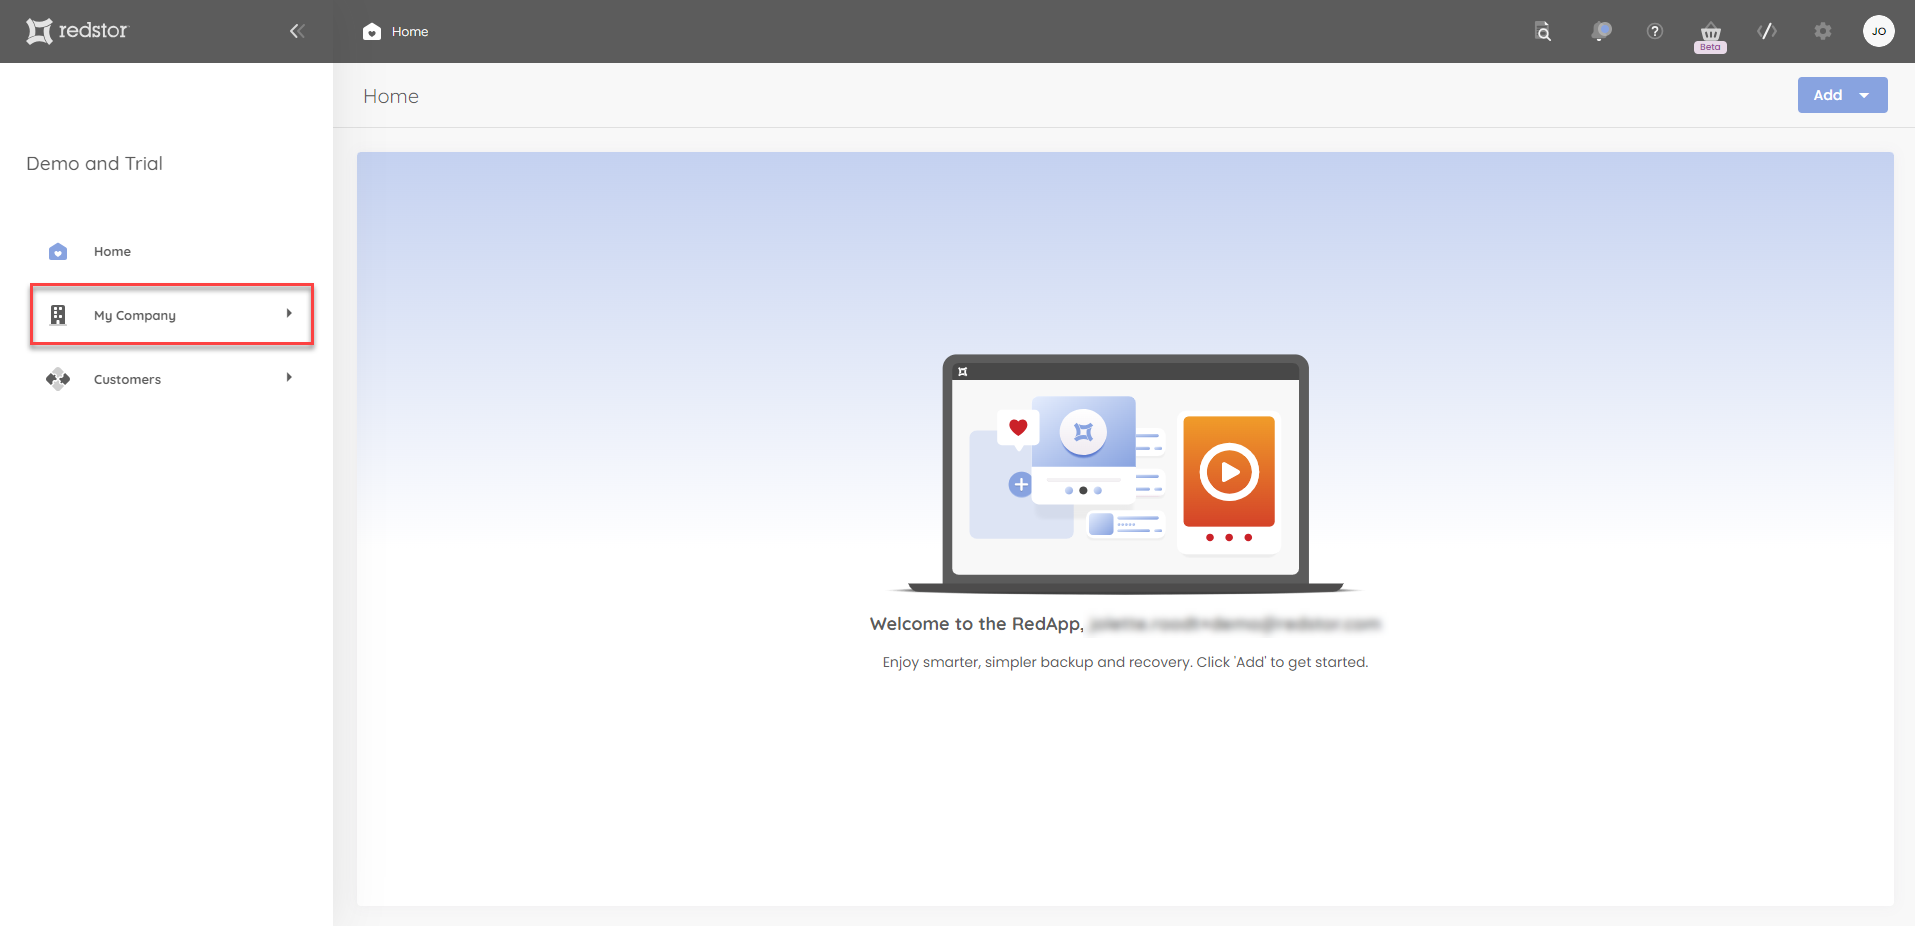
2. To add a new backup set, go to Xero in the sidebar.

3. Click Add at the top right.

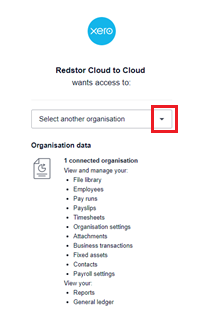
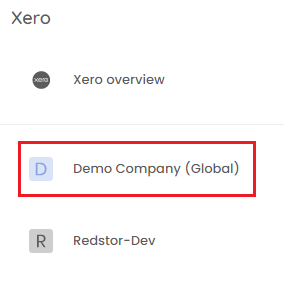
4. You will now need to sign into Xero. Click Next to proceed.

5. Select the organisation you want to connect and click Continue.
Note:
- If authorisation fails and you get an error, log out of Xero and re-attempt the authorisation.
- If you need to later revoke Redstor's permissions for whatever reason, please see this article from Zero's knowledge base.
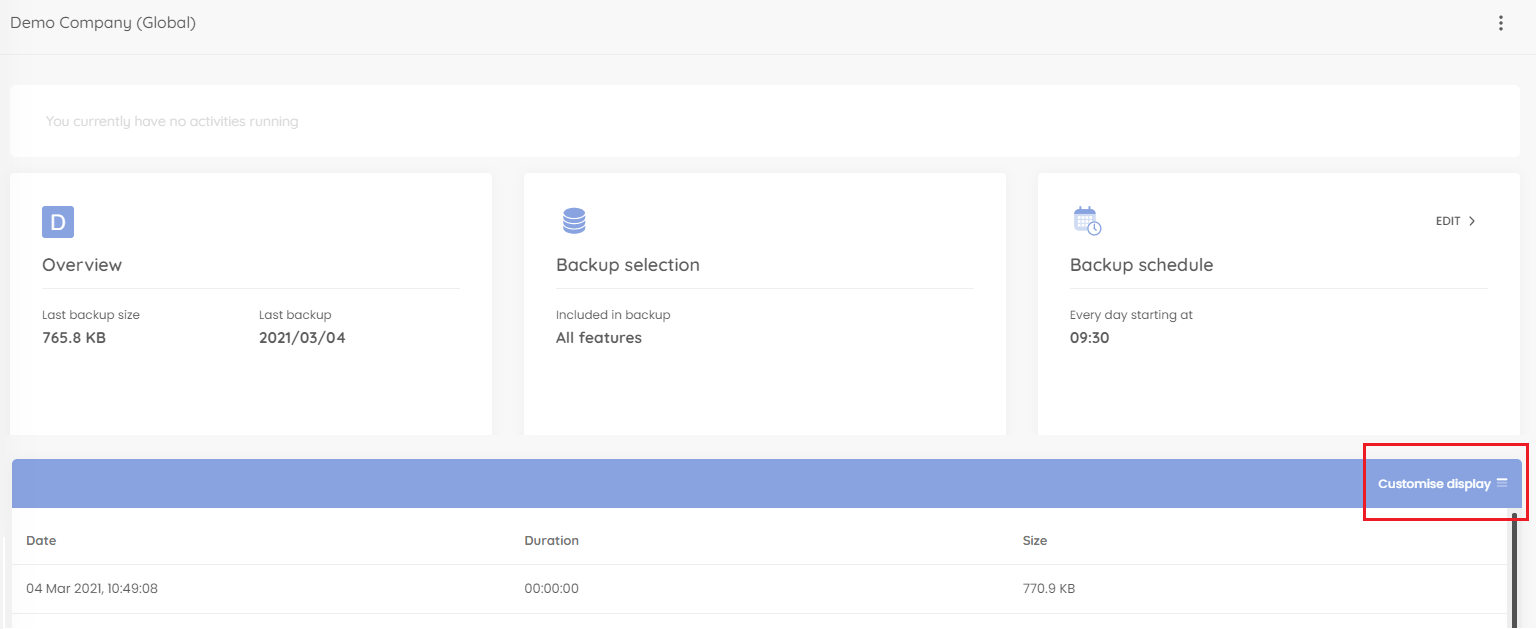
6. Once authorisation is successful, the name of your newly created backup set will now appear on the side navigation of the RedApp. Click on the name to proceed with your first backup or make changes to the backup set.
7. To run your first backup, click on the menu icon at the top right of the backup set home page and select Backup.

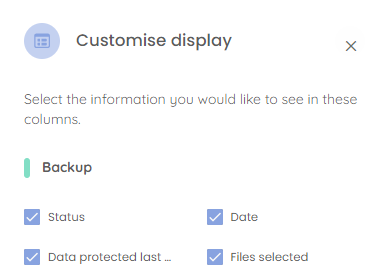
You can customise which columns you see on the backup set home page by going to Customise display.
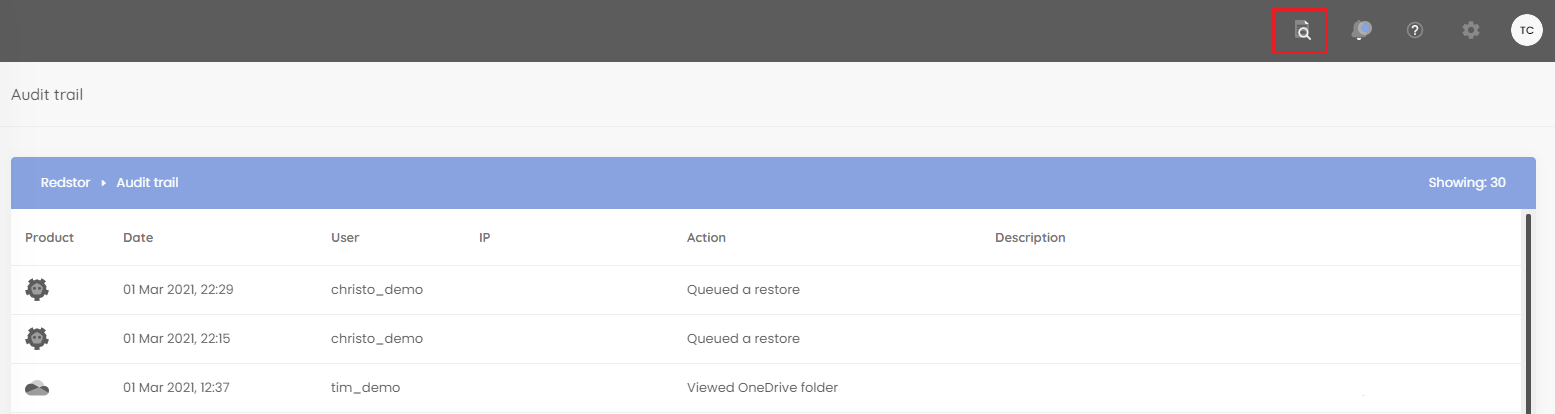
You can also view an audit trail of key actions and which users performed them by clicking on the inspect icon at the top right of the page.
How to configure the backup schedule for a backup set
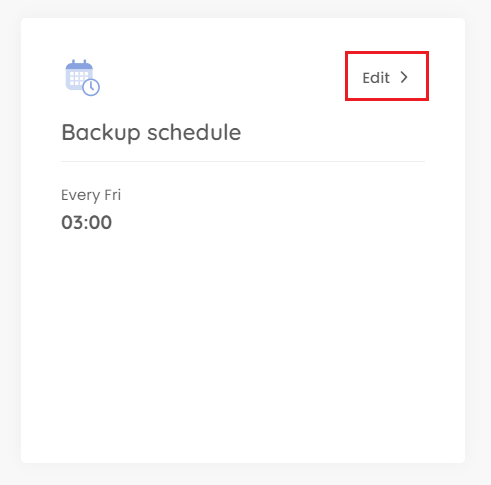
1. On the home page for the relevant Xero backup set, click on Backup schedule > Edit.
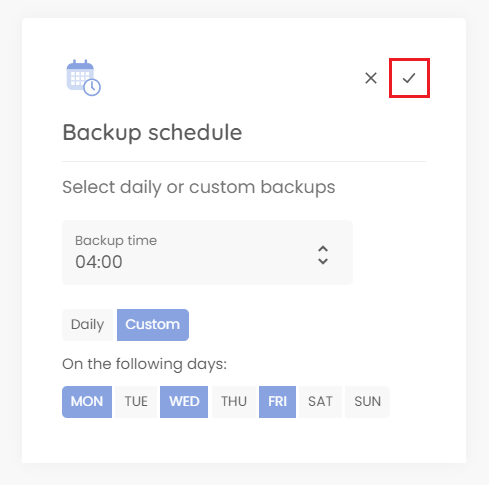
2. You can retain the default of a single daily backup, or you can set your backups to only run on specific days (custom). In either case, use the drop-down menu to set the backup time. Set your preferences and click on the check mark.
How to recover a backup set
Important note: Recovery of Xero is done through InstantData, and requires knowledge of Python to collect the necessary content. Recovery will not result in the recreation of your Xero environment as is.
Before recovery, your Xero data will be distributed across multiple files. To recover this data, you will need to combine each type of data (e.g. Journals, Invoices, Accounts) into a separate JSON file using the Python script provided in Step 6 below.
1. To start a recovery, go to the home page for the relevant Xero backup set in the RedApp. Click on the menu icon and select Recover. This option will only be available if at least one backup has completed.

You will need to authenticate with Xero before you can proceed.
2. Download the InstantData agent using the Download button or use Copy to clipboard to get a shareable link. Each agent can only be used to initiate one restore.

3. On the machine where you want to recover the data, run the downloaded installer. Once the application opens, you can copy the files into your file explorer. The files will be in JSON format.
4. Optional: If your Journals, Invoices and/or Accounts folders are split into multiple JSON files, you can join them up into a single JSON file for convenient viewing in Excel. Use the Python script provided below to combine the files for each type of data into a single file. You will need to run the script for each type of data separately, i.e. once for Journals, once for Invoices, etc.
Requirements
- You will need admin access to run PowerShell or another terminal on the machine where you want to restore the data.
- You will need to have Python 3 installed.
Steps
Save the Python script below as xero_json_files_joiner.py and make a note of the file location. Also note the location of your JSON files and where you want the outputs of the script to go.
For each type of data, repeat the steps below.
- Open the script in a text editor like Notepad or Notepad++.
- Amend the following three variables:
directory_path- the path of the folder (e.g. Journals) that contains the multiple JSON files that need to be combinedoutput_file- the location where you want the combined JSON file to go (this must be a path ending in a filename with the .json extension)document_type- the type of document (data) you are joining up, e.g. Journals or Invoices
- Save the Python file after amending the three variables above.
- If using PowerShell, run:
cdinto the location where the Python script ispython .\xero_json_files_joiner.py
Python script:
import os
import json

# Directory containing JSON files - the backslash needs to be escaped as in the example below
# directory_path = 'C:\\Users\\UserName\\Documents\\InstantData\\Xero\\Invoices'
directory_path = ''

# List to store the JSON data
json_data = []

# Loop through all files in the directory
for filename in os.listdir(directory_path):
    if filename.endswith('.json'):
        file_path = os.path.join(directory_path, filename)
        with open(file_path, 'r') as file:
            # Load the JSON content and append it to the list
            json_content = json.load(file)
            json_data.append(json_content)

# Path to the output JSON file - the backslash needs to be escaped as in the example below
#output_file = 'C:\\Users\UserName\\Documents\\InstantData\\Output\\Combined.json' - Needs to include filename.json at the end
output_file = ''

#Insert name of the type of document you're joining e.g. Journals or Invoices or Accounts etc
#document_type = 'Invoices'
document_type = ''

# Write the combined data to the output file as an array
with open(output_file, 'w') as outfile:
    json.dump(json_data, outfile, indent=4)

# Re-open and re-read the file
with open(output_file, 'r') as file:
    content = file.read()

# Modify the content, converting it into a Record in Excel instead of a list
modified_content = '{\n' + '\"' + document_type + '\"' + ': ' + content + '\n}'

# Write the modified content back to the file
with open(output_file, 'w') as file:
    file.write(modified_content)

# Print success message to console
print(f'Combined {len(json_data)} JSON files into 1 file called {output_file}')
Important note: From this point, we recommend consulting the detailed guides on Xero's knowledge base (e.g. Import a chart of accounts) to assist you in recovery. Use their provided templates to make sure you import your data correctly.
5. To return your files to CSV format (spreadsheets), open Microsoft Excel and click on the Data tab. Repeat the steps below for each of your JSON files.
- If you made use of the script to join up the JSON files, the process will look like this: Expanding-Joined-Json-File-in-Excel.gif (see bottom of page)
- If you did not make use of the script to join up the JSON files, the process will look like this: Single-Json-File.gif (see bottom of page)
The steps from here are the same in both cases.
6. Go to Get Data > From File > From JSON. Select one of the output files produced by the script.

7. Click Into Table.

8. Expand the JournalLines column and click Expand to New Rows to access the records in the list. This will be shown as an applied step in the sidebar.

9. Also under JournalLines, click on Extract Values and untick the box for Use original column name as prefix. (Keeping this option ticked causes the columns to be named "Value.(name)", which means they cannot be recognised by Xero's system on import). Then click OK.

10. Click Close & Load at the top left to load the journal lines into your spreadsheet.
How to delete a backup set
Note: This will delete all backed-up data for this backup set. This can only be undone within the first 336 hours (approximately 14 days) after deletion. To request an undelete, please log a ticket with our support team.
1. On the home page for the relevant Xero backup set, click on the menu icon to expand more options, then click Remove.

2. Confirm the deletion by clicking Remove.

 1.png)